Selection framework
Choose the machine from the process backwards
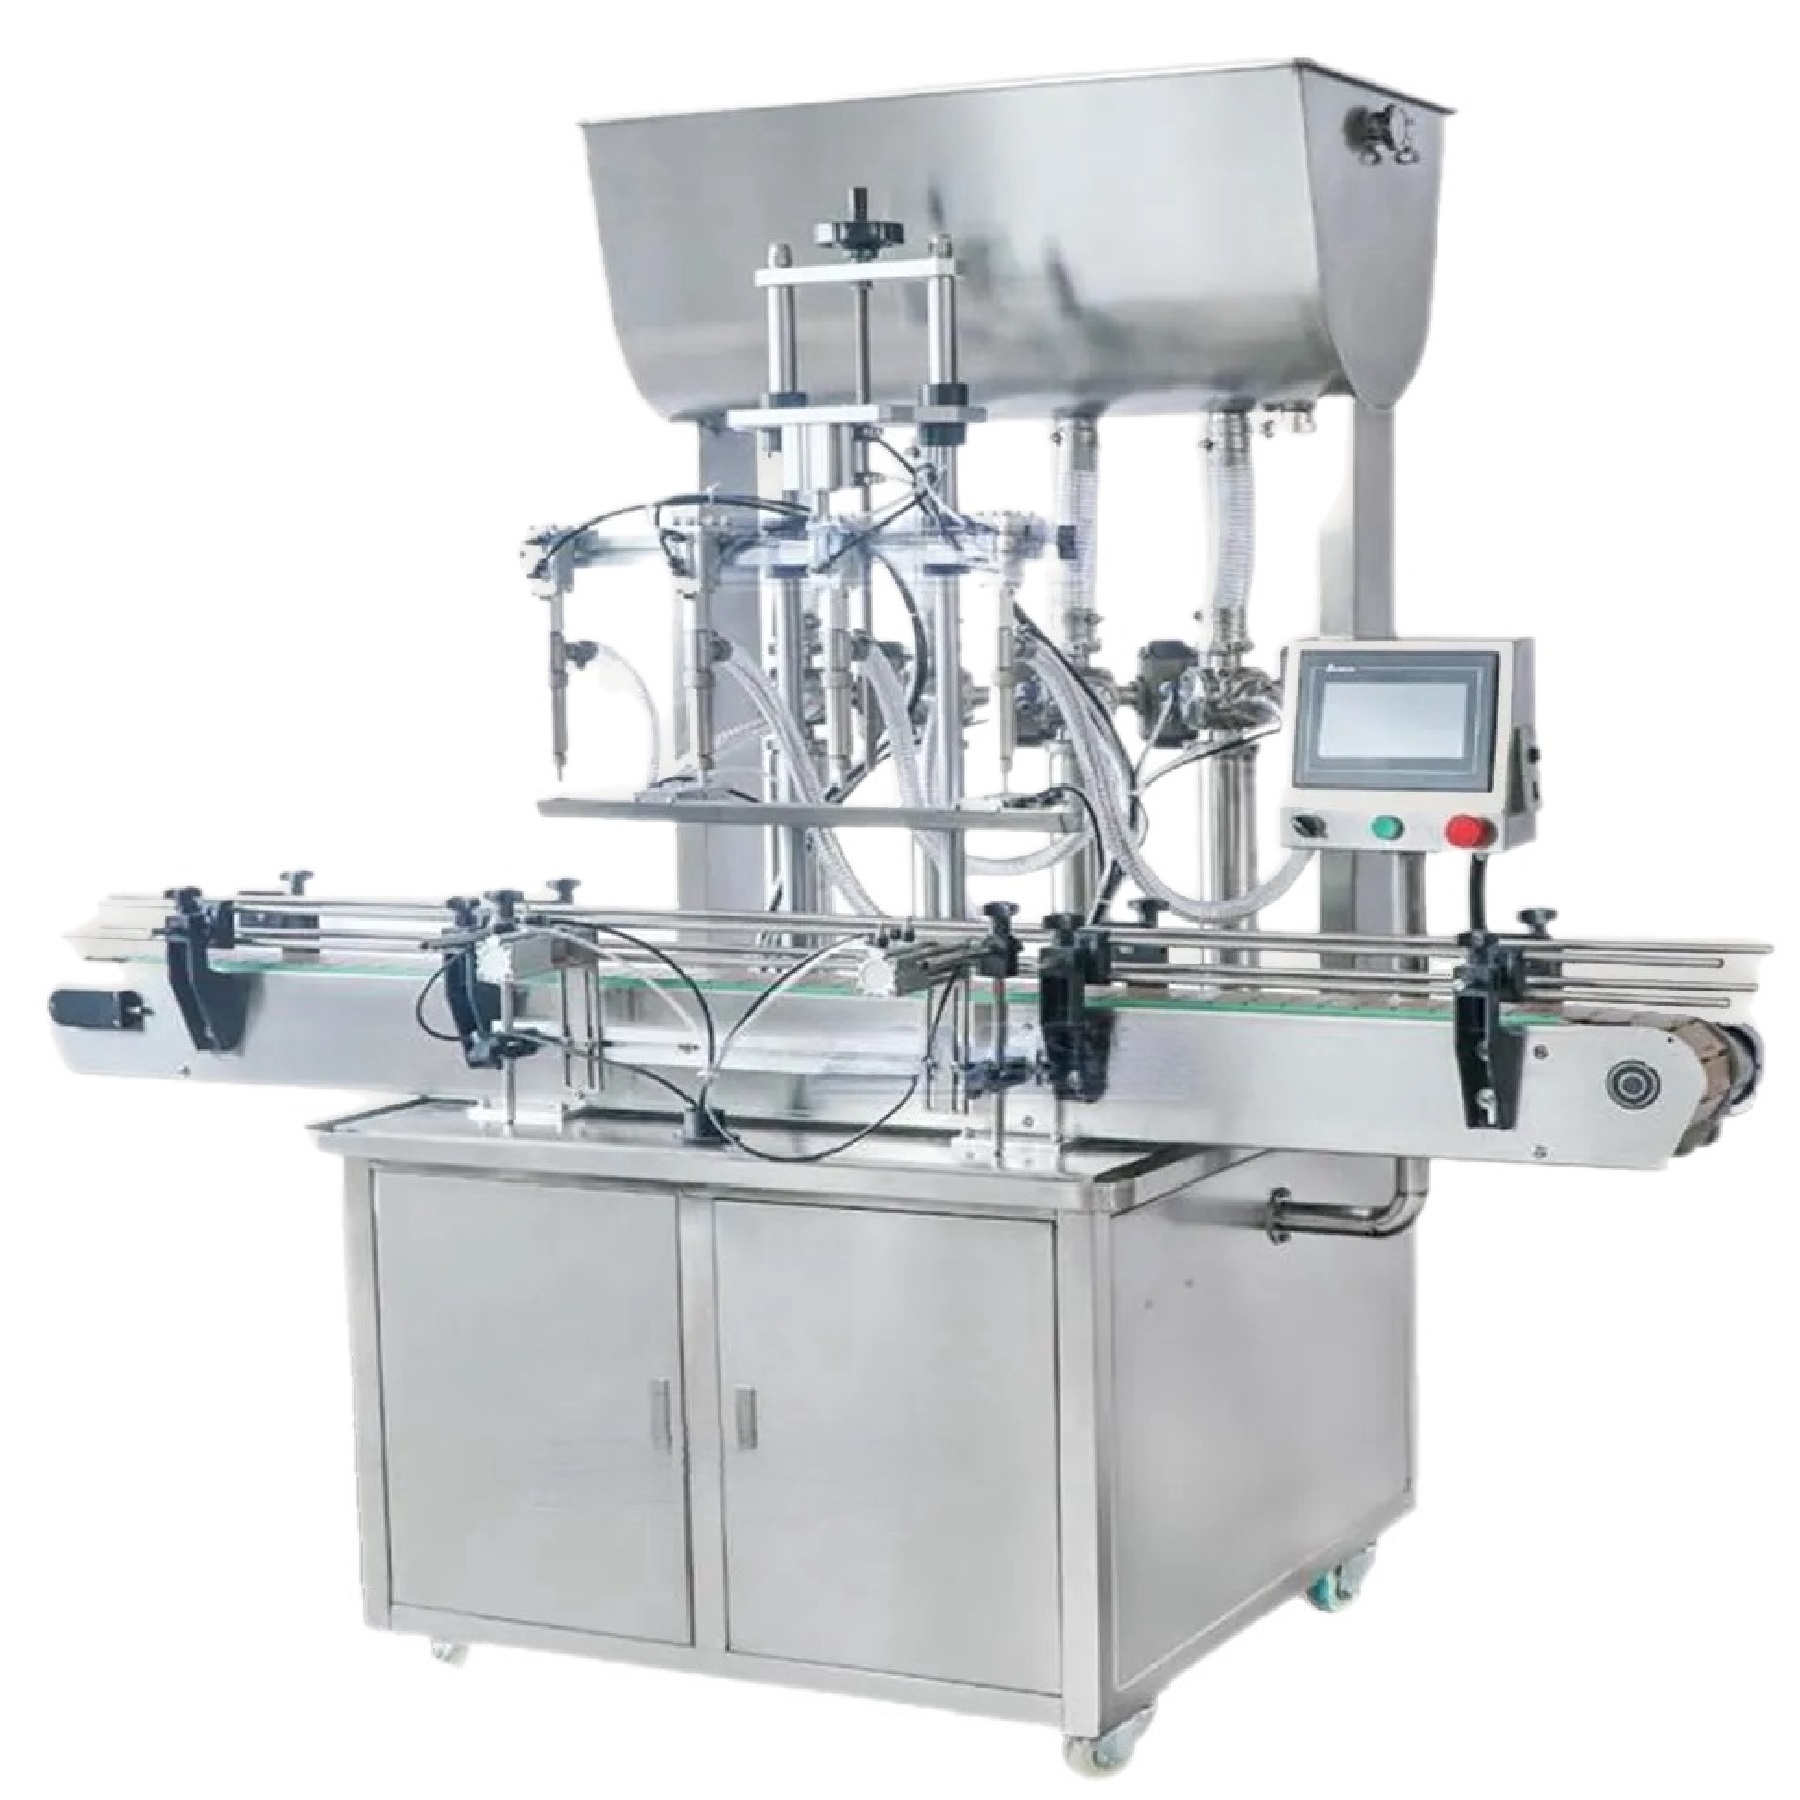
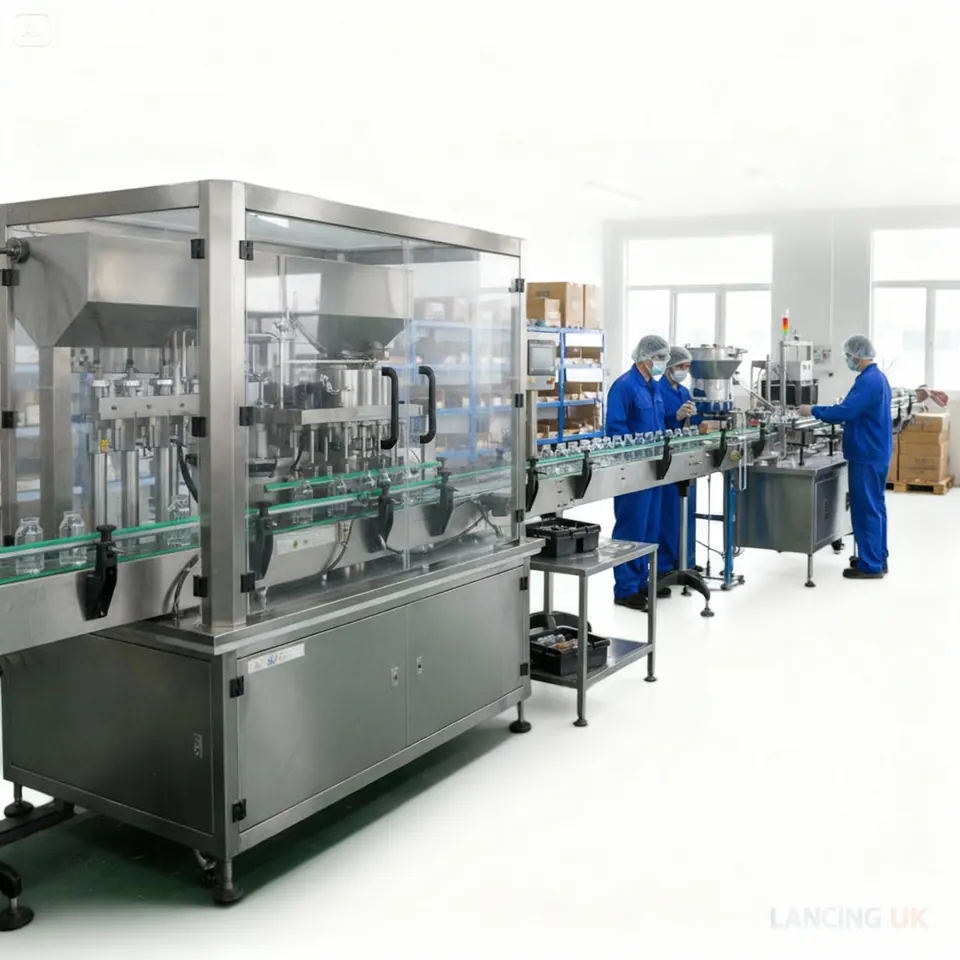
A bottle filling machine is not selected reliably from volume and bottles per minute alone. The dosing principle, product feed, nozzle, bottle control and downstream interfaces form one process. Use the sequence below to remove unsuitable routes before comparing prices.
1. Characterise the product
Record the product as it will actually reach the filler. A formulation can behave differently when warm, cold, mixed, settled or aerated. The useful data set includes:
- Viscosity range at the lowest and highest production temperature
- Foaming, splash, stringing, dripping or separation behaviour
- Particle size, shape, concentration and fragility
- Density where fill weight or gravimetric checks are used
- Chemical compatibility, safety data and flash point where relevant
- Product supply method: hopper, tank, drum, transfer pump or direct process feed
Do not use a single viscosity number as the whole specification. Two products with a similar reading can behave differently at the nozzle because of surface tension, shear response, particles or entrained air.
2. Freeze the fill range
List the minimum, maximum and usual fill. The most common volume should sit comfortably inside the selected pump, tube or cylinder range. A machine that technically reaches both extremes may be slow or difficult to calibrate at one end.
| Question | Why it matters |
|---|---|
| Minimum fill | Determines useful dose resolution, smallest nozzle and whether a small-volume dosing element is required. |
| Maximum fill | Determines chamber capacity, number of strokes, fill time and product-supply demand. |
| Declared quantity | Influences verification method, calibration, sampling and any legal metrology obligations defined by the user. |
| Recipe count | Shapes HMI recipe storage, change parts, calibration time and line scheduling. |
3. Validate every bottle and closure
Bottle diameter, height, neck opening, rigidity and centre of gravity determine whether the container can be guided and stopped without tipping. A filler that doses accurately into a laboratory vessel can still perform poorly if the production bottle moves under the nozzle.
- Bottle material, dimensions and dimensional tolerances
- Neck finish, opening diameter and available nozzle clearance
- Rigidity, base shape, panel strength and tendency to tip
- Closure type, dip tube, plug, liner, tamper evidence and torque
- Label panel and surfaces that must remain clean
- Full and empty bottle weight for conveyor and operator handling
4. Define output as a production model
State output for each important fill volume. A machine may run many more bottles per minute at 100 ml than at 5 litres. Include batch size, shift pattern, operators, cleaning and changeover; these factors determine whether automation delivers a real capacity gain.
5. Compare filling principles
| Principle | Typical strengths | Questions to test |
|---|---|---|
| Volumetric piston | Positive displacement across liquids, creams and pastes. | Particle passage, valve bore, nozzle cut-off, cylinder range and cleaning. |
| Peristaltic | Controlled tubing product path and precise smaller doses. | Tubing compatibility, life, flow rate, viscosity and nozzle fit. |
| Gear or diaphragm pump | Flexible electronically controlled liquid transfer and dosing. | Priming, shear, particles, dry running, compatibility and calibration. |
| Overflow / vacuum | Consistent visible level in suitable rigid bottles. | Bottle rigidity, neck seal, return product and volume-control requirements. |
| Gravity / timed flow | Simple route for suitable free-flowing liquids. | Head pressure, tank-level variation, foam, valve control and viscosity change. |
6. Select the automation level
Semi-automatic equipment reduces manual pouring while keeping bottle loading and removal flexible. Automatic equipment adds conveyors, detection, gating and repeat cycle timing. Choose the level that fits the actual work rather than using automation as a proxy for quality.
7. Plan cleaning and changeover
Time the complete procedure: product recovery, draining, flushing, dismantling, cleaning, inspection, reassembly, priming and recalibration. A filler with a high headline output may deliver less weekly production if its changeover is poorly matched to the batch pattern.
8. Write an acceptance test
Define the product or test media, bottle and closure samples, fill volumes, output, tolerance, run duration, reject conditions and documentation. This converts a sales claim into a measurable project requirement.
A good enquiry does not ask, “What is your fastest filler?” It asks, “What configuration can run this defined product and pack set at this sustained output, with this cleaning and acceptance method?”
Quote checklist
- Product data and representative samples
- Fill range and usual production volumes
- Bottle drawings or samples, including closures
- Target output by volume and batch size
- Cleaning, hygiene and material requirements
- Utilities, floor plan and line interfaces
- Documentation, trials and acceptance criteria
- Installation location, access and target programme